
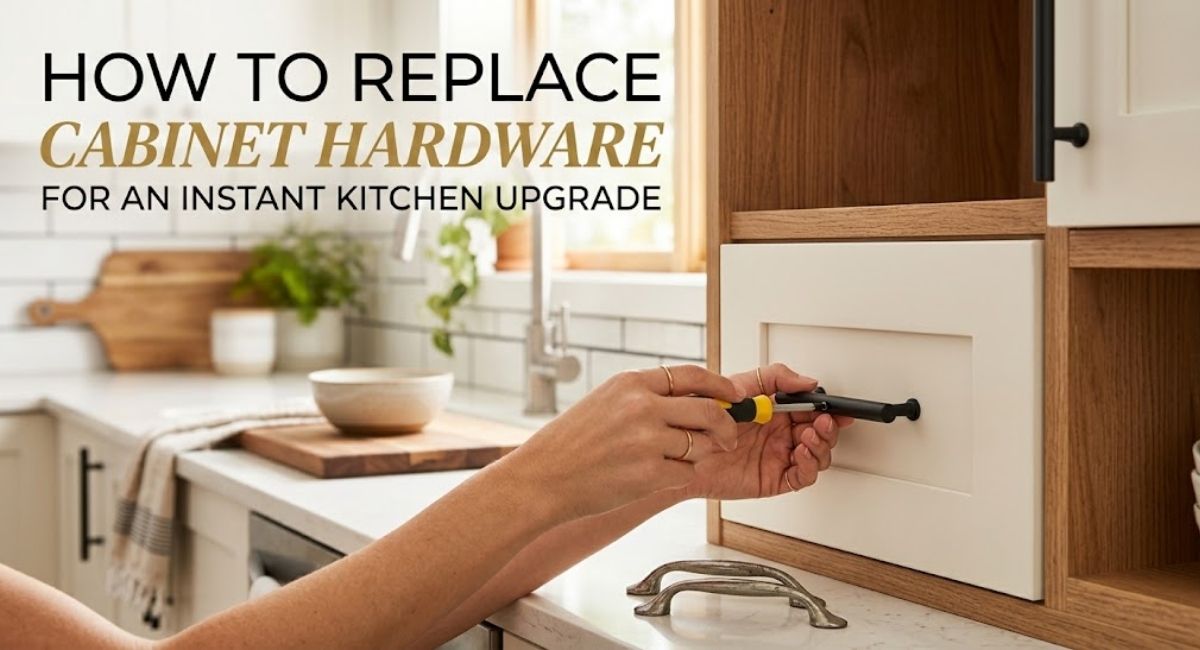
A kitchen can feel dated for reasons that have nothing to do with the cabinets themselves. Sometimes it is not the wood, the paint, or the layout. It is the small brass knobs from a decade or two ago, worn shiny in the middle from years of hands reaching for the same drawer.
Replacing that hardware is one of the few home projects that genuinely delivers a dramatic visual change for a small amount of time and money. Learning how to replace cabinet hardware properly, from measuring existing holes to choosing a consistent finish, is the difference between a clean upgrade and a kitchen with mismatched hole spacing hidden under new pulls.
This guide walks through the full process, including what to do if your new hardware does not line up with the old holes, which is the detail most tutorials skip.
Why This Is the Highest Value Small Kitchen Upgrade
Cabinet hardware sits at eye level and hand height throughout the kitchen, which means it gets noticed far more than most other design details. Swapping dated knobs for cleaner pulls, or updating a mismatched mix of finishes into one cohesive look, changes the entire visual tone of the room without touching the cabinets, countertops, or layout.
It is also one of the few projects on this scale that most people can complete in a single afternoon with basic tools, which makes it a natural entry point before tackling larger kitchen projects.
Knobs vs Pulls: Choosing the Right Type
Knobs are single point fixtures, typically used on cabinet doors, while pulls span a wider area and are common on drawers, though either can technically be used on both. Knobs tend to suit a more traditional look, while longer bar pulls read as more modern, particularly in a matte black or brushed brass finish.
A common approach is knobs on doors and pulls on drawers, which gives visual variety while keeping a consistent finish throughout. There is no strict rule here, and mixing shapes within a consistent finish family generally reads as intentional rather than mismatched.
Tools and Materials You Will Need
A drill with the correct sized bit for your new hardware’s screws, a tape measure, a pencil, and either a store bought or homemade drill template cover the basics. If your new hardware has a different hole spacing than your old pieces, you will also need wood filler, sandpaper, and matching touch up paint or stain for the old holes.
For anyone building their own template rather than buying one, a scrap piece of cardboard or thin wood cut to the exact size of a cabinet door or drawer front, with holes marked and punched through at your intended spacing, does the job just as well as a purchased jig.
Step by Step: Replacing Existing Hardware in the Same Spot
Step One: Remove the Old Hardware
Unscrew each knob or pull from the inside of the cabinet or drawer front. Keep the screws grouped separately if you plan to reuse them, since hardware screw lengths vary and mismatching them later causes loose fittings.
Step Two: Check the Hole Spacing
Measure the distance between the two screw holes on a pull, known as the center to center measurement, and compare it with your new hardware’s packaging. If the spacing matches, installation is straightforward. If it does not, you will need to fill the old holes and drill new ones, covered in the next section.
Step Three: Install the New Hardware
Insert the new screws through the back of the door or drawer front and thread them into the hardware from the front, tightening evenly so the piece sits flush without wobbling. Avoid overtightening, since this can crack certain woods or damage powder coated finishes on the hardware itself.
What to Do When Hole Spacing Does Not Match
When new hardware uses different spacing than the existing holes, the cleanest fix is filling the old holes with wood filler, sanding smooth once dry, and touching up the finish before drilling new holes in the correct position using your template. This adds time to the project but avoids visible gaps or an uneven look around the new hardware.
A drill template is particularly valuable here, since it ensures every door and drawer front gets identical spacing, which matters more than people expect once the full row of cabinets is viewed together. For a kitchen with many doors and drawers, a few extra minutes making one solid template saves considerable rework later.
Choosing a Finish That Ties the Kitchen Together
Matte black, brushed brass, and brushed nickel remain the most common finishes for a reason: they pair well with most countertop and cabinet colours without competing for attention. Matching your cabinet hardware finish to other fixed fixtures in the kitchen, such as the faucet or light fixtures, creates a more cohesive look than choosing hardware in isolation.
If you are updating hardware as part of a broader kitchen refresh, pairing it with under cabinet lighting installed like a pro tends to amplify the effect, since better lighting makes new hardware finishes noticeably more visible.
Pairing Hardware Updates With Other Small Projects
Cabinet hardware often gets updated alongside other small kitchen refreshes. If a few cabinet doors have minor cracks or loose joints, our beginner woodworking projects guide covers simple repairs worth tackling at the same time, and our list of essential woodworking tools for beginners is a useful reference if you are building out a basic tool kit for the first time.
For anyone dealing with a bathroom vanity that could use the same treatment, much of the same process applies, and our DIY bathroom repair guide covers other small bathroom fixes worth pairing with a hardware swap.
Cost Comparison at a Glance
| Approach | Typical Time | Skill Needed |
| Same spacing swap | 1 to 2 hours for a full kitchen | Beginner |
| Different spacing, using a template | Half a day | Beginner to intermediate |
| Full cabinet refacing or repainting | A weekend or more | Intermediate to advanced |
Common Mistakes to Avoid
- Buying hardware before measuring existing hole spacing, which often leads to an unwanted extra filling and redrilling step.
- Mixing finishes inconsistently across doors and drawers rather than sticking with one finish family throughout.
- Overtightening screws, which can crack wood or strip threads over time.
Commonly Asked Questions :Cabinet Hardware in A Kitchen
How long does it take to replace all the cabinet hardware in a kitchen?
For a standard kitchen with matching hole spacing, most people finish in one to two hours. If holes need to be filled and redrilled, plan for closer to half a day.
Can I install pulls where knobs used to be?
Yes, though you will need to drill a second hole for the pull’s additional screw, since knobs use a single mounting point and pulls use two.
What size drill bit should I use for cabinet hardware?
This depends on the screw diameter included with your hardware, typically listed on the packaging. A test hole in a scrap piece of wood is a reliable way to confirm the right size before drilling into an actual cabinet.
Do I need a drill template for just a few cabinets?
For a small number of doors, careful measuring with a tape measure and pencil is usually sufficient. A template becomes more valuable as the number of doors and drawers increases, since it removes the risk of small measuring inconsistencies.
What is the best hardware finish for a kitchen I plan to sell?
Brushed nickel and matte black are broadly popular choices that tend to appeal to a wide range of buyers, making them safer choices than a more distinctive or trend specific finish.
Final Thoughts
Replacing cabinet hardware is one of the rare home projects where the effort required is genuinely small relative to the visual impact. Measuring carefully, choosing a consistent finish, and using a template for larger jobs are the details that separate a professional looking result from an uneven one.
At BYB Good Idea, we focus on practical projects that deliver real results without requiring a full renovation budget. Explore the resources below for more ways to build on this kitchen refresh.
Helpful resources: