
Every woodworker eventually hits the same wall. You have a saw, a drill, maybe a set of clamps, and a growing list of projects you want to try. What you do not have is a flat, sturdy surface to work on. So you end up cutting boards on the garage floor, clamping wood to a kitchen table you are not supposed to touch, or balancing a project on two sawhorses that shift every time you push down with a hand plane. It works, until it does not. A board slips, a cut goes crooked, or you simply give up halfway through because nothing stays still long enough to finish the job.
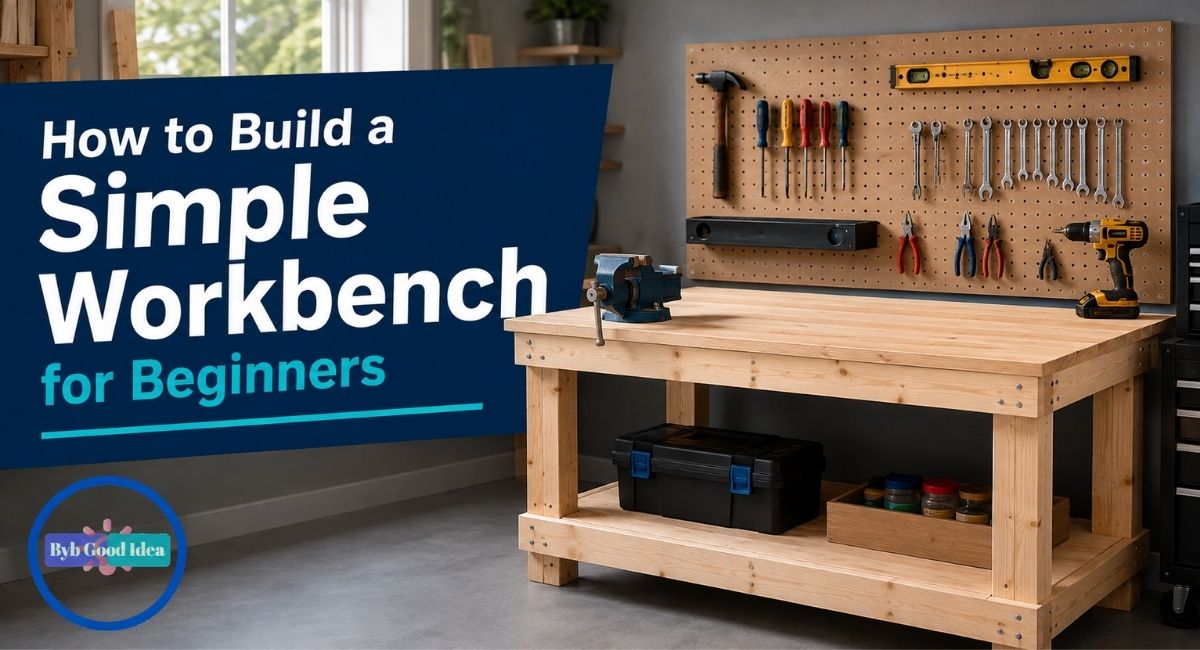
A workbench solves that problem directly. It gives you one dedicated surface that holds wood steady, supports a vise, and survives the dents, spills, and glue drips that come with real projects. You do not need a woodworking degree or a shop full of machinery to build one. A simple, sturdy workbench can be built in a weekend using basic lumber, a handful of tools, and a straightforward cut list. This guide walks through the entire process, from choosing materials to attaching a vise, so that by the end you have a bench that will outlast most of the projects you build on top of it.
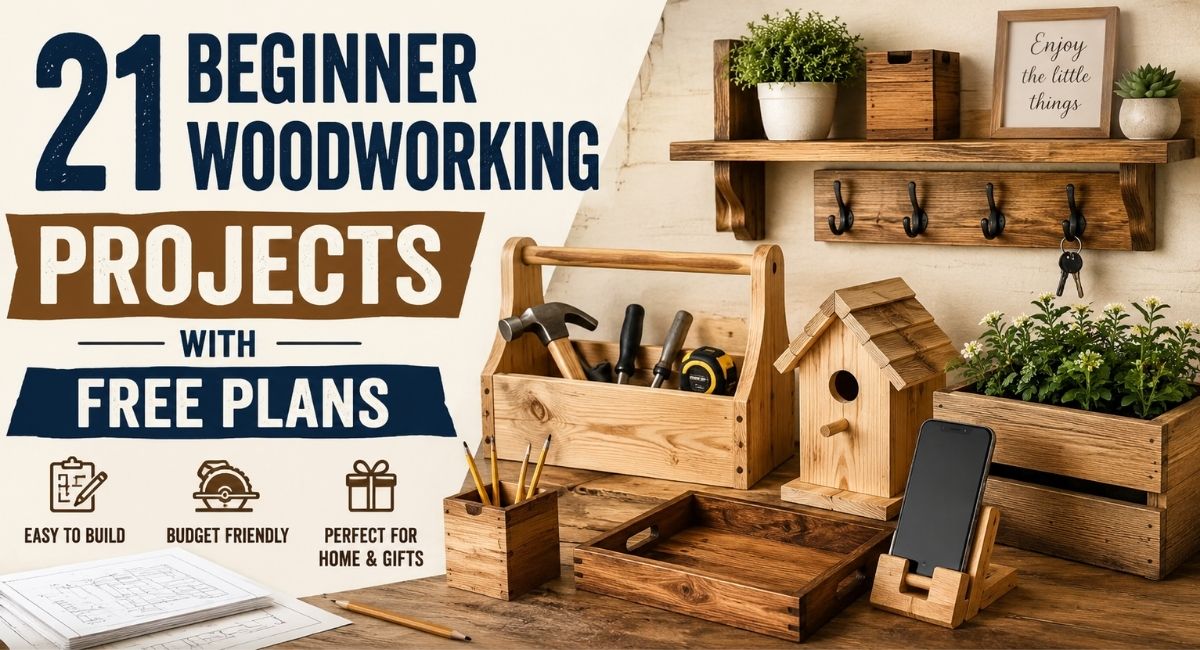
If you are just getting started in the shop, this project pairs well with some of the other beginner woodworking projects that focus on building core skills before moving into anything more advanced. A workbench is arguably the most useful first build there is, because everything after it becomes easier once you have a stable place to work.
Why a Simple Workbench Matters More Than You Think
New woodworkers often underestimate how much a stable surface affects the quality of their work. Precision in woodworking does not come only from a sharp blade or an accurate measurement. It comes from control, and control is nearly impossible on a surface that flexes, rocks, or slides. A workbench with a solid frame and a flat top removes that variable entirely.
There is also a safety argument here. Cutting or drilling into wood that is not properly secured is one of the more common causes of shop injuries for beginners. A vise or clamping surface keeps your hands away from the blade path and gives you two free hands to guide a tool instead of one hand holding wood steady and one hand trying to work. A workbench is not a luxury item in a home shop. It is closer to a foundation, the same way a level floor is a foundation for a house.
Beyond safety and precision, a bench also changes how you think about projects. Once you have a dedicated surface with a vise attached, tasks like hand-planing an edge, chiseling a joint, or holding two pieces together while glue sets become far less frustrating. Many people who give up on woodworking early do so not because the craft is too hard, but because their working conditions make simple tasks harder than they need to be.
What You Need Before You Start
Before cutting anything, gather your materials and tools. Buying everything in one trip saves time and avoids the frustration of stopping mid-build to run to the hardware store.
Materials List
| Material | Quantity | Purpose |
| 2×4 lumber, 8 ft length | 8 to 10 boards | Legs, aprons, and stretchers for the frame |
| 3/4 inch plywood, 4×8 sheet | 2 sheets | Workbench top and lower shelf |
| Wood screws, 3 inch | 1 box (about 50) | Frame assembly |
| Wood screws, 1 5/8 inch | 1 box | Attaching plywood to frame |
| Wood glue | 1 bottle | Reinforcing joints |
| Woodworking vise | 1 unit | Clamping material for cutting, planing, and sanding |
| Carriage bolts, 3/8 inch | 4 to 6 | Extra reinforcement at leg joints (optional but recommended) |
| Wood filler | 1 small tub | Filling screw holes before finishing |
You do not need exotic materials for this build. Standard construction-grade 2×4 lumber and plywood, available at any home improvement store, are strong enough for a shop workbench. If you want a longer-lasting bench and are willing to spend a bit more, you can look into some of the sturdier options covered in the guide on best hardwood for furniture and ladders, although for a first workbench, standard softwood framing lumber is the practical choice.
Tools You Will Need
- Circular saw or miter saw for cutting lumber to length
- Drill and driver bits for screws
- Tape measure and combination square
- Clamps, at least two, for holding pieces during assembly
- Level, to check the frame stays square and even
If you are still building out your basic tool kit, the roundup of essential woodworking tools for beginners covers what to prioritize first without overspending on tools you will not use for months.
Understanding Workbench Dimensions
Before cutting a single board, it helps to understand standard lumber sizing, because it directly affects your cut list. A board labeled as a 2×4 is not actually 2 inches by 4 inches. Due to how lumber is milled, dried, and planed at the mill, a nominal 2×4 measures closer to 1.5 inches by 3.5 inches once it reaches the store shelf. This applies to every dimensional board you buy, and it matters when you are calculating exact frame heights or joint overlaps. Kreg Tool has a clear breakdown of nominal versus actual lumber dimensions if you want the full explanation, but the short version is this: always measure the actual board in your hand rather than assuming the labeled size is exact.
For a general-purpose workbench, these dimensions work well for most home shops:
- Height: 34 to 36 inches, roughly matching standard kitchen counter height
- Length: 48 to 60 inches, long enough for most projects without taking over a small garage
- Depth: 24 inches, deep enough for a stable work surface without being hard to reach across
If your garage or shop space is tight, you can scale these numbers down. A bench does not need to be large to be useful. What matters more is that the frame is square, the legs do not wobble, and the top sits flat.
Step-by-Step Build Instructions
Step 1: Plan Your Cut List
Start by writing out every piece you need and its exact length. This avoids wasted material and repeated trips to buy more lumber. A standard cut list for a 5-foot bench looks like this:
| Part | Quantity | Length |
| Legs | 4 | 34 inches |
| Top aprons (long side) | 2 | 57 inches |
| Top aprons (short side) | 2 | 21 inches |
| Lower stretchers (long side) | 2 | 57 inches |
| Lower stretchers (short side) | 2 | 21 inches |
| Plywood top | 1 | 24 x 60 inches |
| Plywood shelf | 1 | 21 x 57 inches |
Adjust these numbers based on the final size you want, but keep the math consistent so opposite sides of the frame match exactly. A frame that is even slightly uneven on one side will cause the whole bench to rock.
Step 2: Cut the Legs and Frame Pieces
Using your circular saw or miter saw, cut all four legs to the same length first. Cutting them together, or marking them from a single template piece, keeps the height consistent. Uneven legs are the most common reason a beginner workbench wobbles, so take an extra minute here to double check each cut against the others before moving on.
Next, cut the aprons and stretchers according to your cut list. The aprons form the upper frame that supports the plywood top, and the stretchers form a lower frame that adds rigidity and can support a shelf underneath for tool storage.
Step 3: Assemble the Leg Frame
Lay two legs flat on the ground and attach one long apron and one short apron to form an L-shaped corner, using 3-inch screws driven through the apron into the leg. Repeat this for the second pair of legs. Once you have two L-shaped assemblies, connect them with the remaining aprons to form a rectangular frame standing on four legs.
Check the frame with a square as you go. A frame that is slightly out of square when empty becomes far more noticeable once weight and tools are placed on top. If you have carriage bolts, add one at each leg joint for extra strength beyond the screws. This step matters more than it seems, since a bench frame that flexes under pressure defeats the entire purpose of building one.
Step 4: Add the Lower Stretchers
About 8 to 10 inches above the ground, attach the lower stretchers between the legs using the same screw and glue method. This lower frame does two things. It adds significant rigidity to the whole structure, since a rectangle braced near the bottom resists racking far better than legs alone. It also creates a ledge to support a plywood shelf, which is useful for storing tools, clamps, or scrap wood off the floor.
Step 5: Attach the Plywood Top
Cut your 3/4 inch plywood to size and set it on top of the apron frame. Apply a bead of wood glue along the top edges of the aprons before setting the plywood down, then secure it with 1 5/8 inch screws driven down through the plywood into the aprons every 8 to 10 inches around the perimeter and across any interior supports. The glue prevents the top from creaking or shifting slightly over time, which can happen with screws alone.
If you want a more durable surface that resists dents from repeated hammering or chiseling, you can double up the plywood by gluing and screwing a second layer directly on top of the first, or add a layer of hardboard on top that can be replaced when it gets too worn.
Step 6: Install the Vise
Position your vise at one corner or along one edge of the bench, typically near a leg so the mounting hardware has solid material to bite into. Mark the mounting holes, drill pilot holes, and bolt the vise securely to the underside of the top. Test it by clamping a scrap board before relying on it for a real project, since vise placement is much easier to adjust now than after you have started using the bench regularly.
Step 7: Sand and Finish
Once assembly is complete, sand any rough edges, especially around the plywood top where splinters are more likely. Fill screw holes with wood filler if you want a cleaner appearance, then sand those spots smooth once dry. A coat of polyurethane or workbench oil is optional, but it does help the top resist stains from glue, finish, and moisture over time.
Choosing the Right Wood for Your Bench
Standard construction-grade lumber works fine for a first bench, but it helps to understand the basic difference between wood types before you buy. Softwoods like pine and fir, which make up most 2×4 lumber, are affordable and easy to cut, which makes them ideal for a frame that will be covered in scratches and glue drips anyway. Hardwoods are denser, more expensive, and better suited for furniture or projects where appearance matters more than utility.
If you are curious about when to choose one over the other for future projects, the breakdown on the difference between hardwood and softwood explains the practical differences in strength, cost, and workability. For a workbench specifically, softwood framing lumber combined with a plywood top is the standard, cost-effective choice used in most home shops and even many professional ones.
Common Mistakes Beginners Make
A few recurring mistakes tend to show up in first-time workbench builds, and knowing them ahead of time can save you a rebuild.
- Skipping the square check during frame assembly, which leads to a bench that rocks even after the top is attached
- Using screws alone without glue at major joints, which allows the frame to loosen slightly over months of use
- Building the bench too tall or too short for the person using it most, instead of measuring against actual working height
Take the time to measure twice at each stage, particularly the leg lengths and the squareness of the frame. These small checks take a few extra minutes but prevent a wobbly, frustrating bench that undermines the entire project.
Customizing Your Workbench Over Time
A basic frame and plywood top is a strong starting point, but most woodworkers adjust their bench as their projects change. Some add a second vise on the opposite corner for two-handed clamping. Others attach a row of bench dog holes along the top for use with holdfasts and featherboards. If shop space is tight, adding locking casters to the legs lets you roll the bench aside when not in use, though this is worth skipping if you plan to do any heavy hand-planing, since a bench on wheels can shift slightly under repeated force.
Old tools you already own can often be repurposed into bench accessories rather than replaced. A worn-out clamp, an old drawer pull, or scrap hardware can all find a second life on a shop bench. If you like the idea of getting more mileage out of tools before buying new ones, the ideas in repurposing old tools you no longer use offer a good starting point for outfitting your new bench without much extra cost.
Where to Position Your Workbench in a Small Garage
Even a well-built bench becomes less useful if it is placed somewhere that makes it hard to work around. In a small garage, position matters almost as much as construction. Leave at least three feet of open space on the side you plan to stand at most often, since this is where you will need room to swing a hand plane, pull a clamp handle, or step back to check an edge. Placing the bench against a wall on the opposite side frees up floor space and gives you a place to hang a pegboard or shelf above it for frequently used tools.
If your garage doubles as a parking space, consider building the bench with locking casters so it can be rolled against a wall when not in use, though keep in mind this trades some rigidity for mobility. For a garage that serves double duty as storage and workshop, a bench positioned near natural light from a window or garage door opening also makes fine detail work, like marking joints or checking finish quality, noticeably easier than working under a single overhead bulb.
Maintaining Your Workbench
A workbench is meant to take abuse, but a small amount of maintenance keeps it functional for years. Check the frame joints every few months for any looseness, especially if the bench sees heavy use, and tighten screws or bolts as needed. If the plywood top becomes deeply gouged or uneven, a fresh layer of hardboard on top is far easier than replacing the entire surface. Keep the vise mechanism lightly oiled so it continues to open and close smoothly, since dust and wood shavings tend to build up in the threads over time.
Commonly Asked Questions
How much does it cost to build a simple workbench?
A basic bench built from construction-grade 2×4 lumber and plywood typically costs between 80 and 150 dollars, depending on lumber prices in your area and whether you already own a vise. Adding a higher-quality vise can add another 50 to 150 dollars to the total.
Do I need a table saw to build a workbench?
No. A circular saw or even a miter saw is enough to make every cut required for this build. A table saw makes ripping plywood easier, but it is not required for a basic frame and top.
What height should my workbench be?
Most home shop benches sit between 34 and 36 inches tall, close to standard kitchen counter height. The right height depends on your own comfort, particularly whether you plan to do more hand-tool work, which often benefits from a slightly lower bench, or more assembly and clamping work, which is comfortable at standard counter height.
Can I build a workbench without a vise?
Yes, though a vise makes many tasks significantly easier and safer. If you want to start without one, you can add it later once the frame and top are complete, since the mounting process does not require rebuilding the bench.
How long does it take to build a simple workbench?
Most beginners can complete this build in a single weekend, roughly 6 to 10 hours of total work spread across cutting, assembly, and finishing. Drying time for glue and finish will extend the full project timeline slightly.
What is the best wood for a workbench top?
Three-quarter inch plywood is the most common and cost-effective choice for a workbench top. It is flat, stable, and resistant to warping compared to solid boards. Some woodworkers add a hardwood edge strip around the plywood for extra durability at the edges where clamps are used most often.
Final Thoughts
A simple workbench is one of the most useful things you can build early in your woodworking journey. It solves a real problem, gives every future project a stable foundation, and does not require advanced skills or expensive tools to get right. With a basic cut list, some construction lumber, plywood, and a weekend of work, you end up with a bench that will support years of projects, from quick repairs to more involved furniture builds.
Start simple, focus on getting the frame square and the legs even, and resist the urge to overbuild on your first attempt. A working bench today is more useful than a perfect bench that never gets finished. Once it is done, you will notice the difference immediately in how much steadier, faster, and safer every future project feels.
At ByBGoodIdea, we believe good projects start with the right foundation, and a solid workbench is exactly that. If this guide helped you plan your build, take a look at our other beginner woodworking projects for what to build next once your bench is ready to use.