

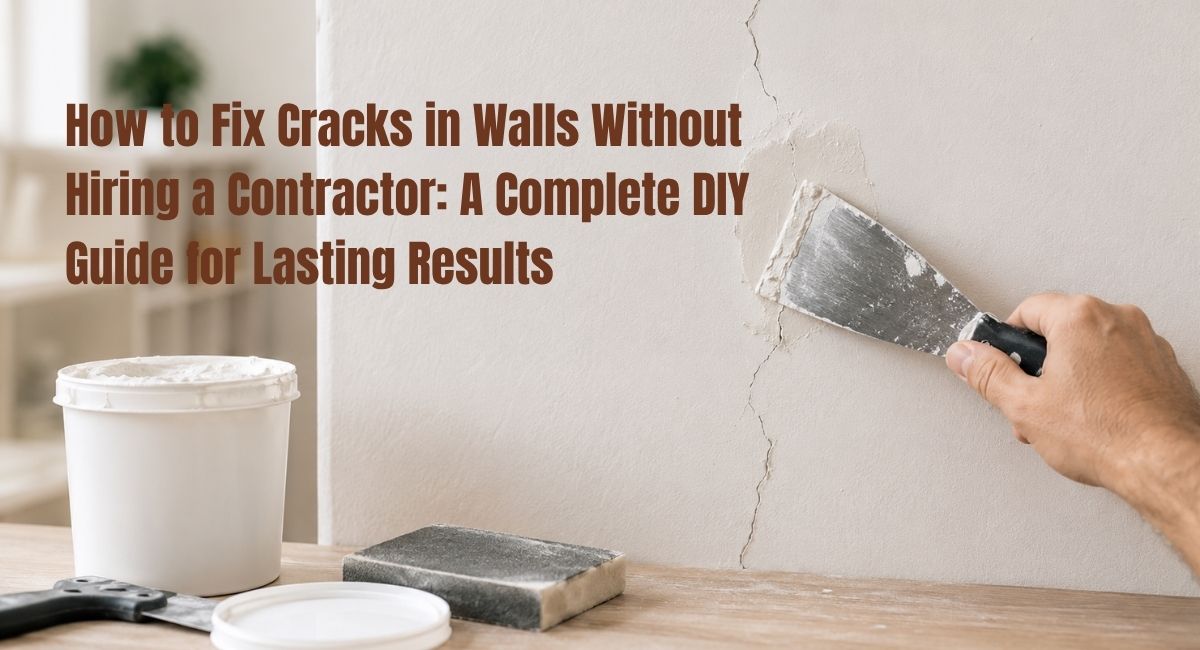
Cracks in walls often appear without warning. One day your walls look smooth and clean. A few months later, a thin line stretches across the paint, or a crack forms above a door or window. While it is easy to assume the worst, most wall cracks are not a sign of serious structural damage. In many cases, they are the result of normal house movement, seasonal temperature changes, settling, or minor moisture issues.
Many homeowners immediately think about calling a contractor, expecting an expensive repair bill. However, the reality is that a large percentage of wall cracks can be repaired successfully with basic tools, a little patience, and the right technique. Whether you are dealing with hairline drywall cracks, small plaster damage, or gaps around windows and doors, a DIY approach can restore your walls while saving both time and money.
This comprehensive guide explains how to Fix Cracks in Walls safely and effectively without hiring a professional. You will learn why cracks happen, how to identify different crack types, which tools you need, when a simple repair is enough, and when it is time to seek expert advice. By the end, you will have the confidence to complete a quality repair that blends naturally with the rest of your wall.
If you enjoy practical home improvement projects, you might also like this guide on smart home projects.
Why Walls Develop Cracks
Before beginning any wall crack repair, it helps to understand what caused the damage. Repairing the surface without addressing the underlying reason can lead to cracks returning within months.
Some of the most common causes include:
Normal House Settling
Almost every home settles over time. Foundations shift slightly as the soil underneath compresses. This gradual movement creates stress on drywall joints and plaster surfaces, leading to small cracks.
Hairline cracks are especially common in homes built within the last few years because new construction continues to settle.
Temperature Changes
Building materials expand during warm weather and contract when temperatures drop.
Drywall, wood framing, and plaster all react differently to temperature fluctuations. Over time, these tiny movements create stress lines that eventually become visible cracks.
Humidity Changes
High humidity causes certain materials to absorb moisture and expand.
Low humidity causes shrinking.
This repeated expansion and contraction often creates small cracks around corners, ceilings, windows, and door frames.
Poor Drywall Installation
Sometimes the problem begins during construction.
Examples include:
- Insufficient drywall screws
- Weak joint compound application
- Improper drywall tape installation
- Low-quality finishing work
These installation problems often become visible after several seasons.
Moisture Damage
Leaks from plumbing, roofs, or windows weaken drywall and plaster.
Water damage softens materials, causing paint to bubble and cracks to spread.
If moisture is present, repair the leak before fixing the wall.
Types of Wall Cracks
Not every crack requires the same repair method.
Correctly identifying the crack helps you choose the proper materials.
| Crack Type | Typical Cause | DIY Repair? |
| Hairline crack | Normal settling | Yes |
| Drywall joint crack | Tape separation | Yes |
| Corner crack | House movement | Yes |
| Nail pop crack | Fastener movement | Yes |
| Wide crack over 1/4 inch | Structural movement | Sometimes |
| Stair-step crack in masonry | Foundation issues | Professional inspection recommended |
Most interior drywall cracks are cosmetic and can be repaired without specialized equipment.
When You Can Repair a Wall Yourself
A successful DIY wall repair usually involves cracks that are:
- Less than one-quarter inch wide
- Dry
- Stable
- Not increasing in size
- Limited to drywall or plaster finish
These repairs require patience more than advanced skills.
When You Should Call a Professional
Although many repairs are straightforward, some warning signs indicate a deeper issue.
Contact a structural engineer or qualified contractor if you notice:
- Cracks wider than one-quarter inch
- Horizontal foundation cracks
- Large stair-step brick cracks
- Doors no longer closing properly
- Windows sticking badly
- Sagging ceilings
- Water leaking through walls
- Large bulging sections of drywall
Surface repairs will not solve structural movement.
Tools and Materials You’ll Need
One reason many homeowners postpone repairs is the assumption that specialized equipment is required.
Fortunately, most home wall fixes require inexpensive tools available at nearly every hardware store.
Basic Tools
- Putty knife
- Utility knife
- Sanding sponge
- Fine-grit sandpaper
- Drywall sanding block
- Paint scraper
- Paintbrush
- Small roller
- Dust mask
- Safety glasses
- Vacuum cleaner
Repair Materials
- Joint compound
- Lightweight spackle
- Drywall tape
- Primer
- Matching wall paint
- Fine sanding sponge
- Painter’s tape
Many beginners prefer buying a complete wall patch kit, which usually includes compound, patches, sanding pads, and application tools in one package.
Step 1: Inspect the Crack Carefully
Before applying any filler, inspect the damaged area closely.
Ask yourself:
- Is the crack growing?
- Is it wider at one end?
- Is moisture visible?
- Does the drywall feel soft?
- Are nearby screws popping out?
Mark each crack with a pencil.
Taking a photo before repair also helps you monitor future movement.
Step 2: Prepare the Surface
Skipping preparation is one of the biggest reasons DIY repairs fail.
Proper preparation creates a stronger bond.
Remove Loose Material
Use a utility knife to carefully widen very narrow cracks slightly.
Although this sounds counterproductive, creating a shallow V-shaped groove allows compound to penetrate deeper.
Next:
- Remove peeling paint.
- Scrape away loose plaster.
- Brush away dust.
- Vacuum the surface.
The repair compound sticks much better to clean drywall.
Step 3: Apply Drywall Tape for Larger Cracks
For cracks longer than several inches, reinforcement is essential.
Paper drywall tape or self-adhesive fiberglass mesh tape both work well.
Fiberglass mesh is easier for beginners because it sticks directly onto the wall before applying compound.
Paper tape generally creates a smoother finish but requires slightly more experience.
Place the tape directly over the crack without wrinkles or air bubbles.
This reinforcement helps prevent future separation.
Step 4: Apply Joint Compound
Now comes the actual drywall repair.
Using a six-inch putty knife:
- Scoop a small amount of joint compound.
- Press it firmly into the crack.
- Spread outward evenly.
- Remove excess material.
Avoid applying thick layers.
Several thin coats produce much better results than one heavy application.
Allow the first coat to dry completely before continuing.
Drying time varies depending on humidity but usually ranges from 12 to 24 hours.
Step 5: Sand Smoothly
Once dry, lightly sand the repair.
The goal is not to remove the compound.
Instead, feather the edges so they blend into the surrounding wall.
Use light pressure.
Aggressive sanding creates low spots that become obvious after painting.
Wipe away dust using a damp microfiber cloth before applying another coat.
Step 6: Repeat if Necessary
Most quality repairs require two or three thin applications.
Each layer should become wider than the previous one.
This gradual feathering makes the repair nearly invisible after painting.
Professional drywall finishers rarely complete a repair in one coat.
Patience produces the smoothest finish.
Step 7: Prime the Repair Before Painting
Many DIY repairs look perfect until fresh paint dries. The patched area suddenly stands out because joint compound absorbs paint differently than the surrounding wall.
Applying a quality primer creates an even surface and helps the finish coat blend seamlessly.
For the best results:
- Remove all sanding dust with a microfiber cloth.
- Apply one coat of drywall primer using a small roller.
- Let the primer dry according to the manufacturer’s instructions.
- Inspect the repair under natural light.
- Lightly sand any remaining imperfections before painting.
A primer is especially important when repairing larger areas because it reduces flashing, which is the uneven appearance that occurs when paint dries over patched surfaces.
How to Repair Hairline Cracks in Painted Walls
Hairline cracks are the most common type of interior wall damage. They are usually caused by seasonal movement, settling, or normal expansion and contraction of building materials.
The repair process is straightforward:
- Clean the crack with a dry brush.
- Open it slightly using a utility knife.
- Apply lightweight spackle or joint compound.
- Smooth the surface with a putty knife.
- Allow it to dry completely.
- Sand lightly.
- Prime and repaint.
Because these cracks are so narrow, many homeowners skip the preparation step. However, slightly widening the crack helps the filler bond more effectively and reduces the chance of it reopening.
How to Repair Drywall Joint Cracks
Drywall sheets meet at joints that are reinforced with tape and joint compound. Over time, movement can cause the tape to separate, creating a long, straight crack.
This type of wall crack repair requires more than simply filling the crack.
Remove Loose Tape
Use a utility knife to cut away any tape that has lifted from the wall.
Avoid removing sections that remain firmly attached.
Apply New Tape
Self-adhesive fiberglass mesh tape is often the easiest option for beginners.
Center the tape over the joint.
Cover with Joint Compound
Apply a thin layer over the tape.
Allow it to dry before applying two additional feathered coats.
Sand between coats if necessary.
Taking your time here results in a repair that is nearly impossible to notice after painting.
Repairing Small Holes Along with Wall Cracks
Sometimes a crack is accompanied by dents, screw holes, or small punctures.
A wall patch kit is useful because it usually includes:
- Self-adhesive repair patches
- Joint compound
- Putty knife
- Sanding pad
For holes smaller than about four inches:
- Place the patch over the opening.
- Cover it with joint compound.
- Feather the edges.
- Allow it to dry.
- Sand smooth.
- Prime and paint.
If the drywall has extensive water damage or large missing sections, replacing the damaged drywall may be more effective than patching.
Fixing Nail Pops
A nail pop appears as a small raised bump or circular crack.
It happens when framing lumber shifts slightly, pushing drywall fasteners toward the surface.
Repairing nail pops involves more than simply covering them.
Follow these steps:
- Drive the existing nail back into the stud if it is still secure.
- Add a drywall screw about an inch above or below the nail.
- Countersink the screw slightly.
- Cover both fasteners with joint compound.
- Sand smooth after drying.
- Prime and repaint.
This prevents the fastener from working loose again.
Repairing Cracks Around Windows and Doors
Doors and windows experience more movement than flat wall surfaces because framing expands and contracts.
Small cracks around trim can often be repaired using paintable acrylic latex caulk instead of joint compound.
The process is simple:
- Remove old loose caulk.
- Clean the gap.
- Apply a thin bead of paintable caulk.
- Smooth it with a damp finger or caulk finishing tool.
- Allow it to cure.
- Paint over it if necessary.
Using caulk allows the joint to flex slightly without cracking again.
Ceiling Cracks Require Extra Attention
Ceiling cracks are common but often cause unnecessary concern.
Most are caused by normal settling or drywall joint movement.
Repair them using the same techniques described earlier:
- Inspect carefully.
- Remove loose material.
- Apply drywall tape if needed.
- Build up several thin coats of joint compound.
- Sand carefully.
- Prime.
- Paint.
If a ceiling crack continues to widen rapidly, sags, or is accompanied by water stains, investigate the cause before making cosmetic repairs.
Common Mistakes That Lead to Failed Repairs
Even a small mistake can shorten the life of your repair.
Here are some of the most common problems homeowners encounter.
| Mistake | Better Approach |
| Filling without cleaning | Remove dust and loose material first |
| Applying thick compound | Build several thin coats |
| Skipping primer | Prime before painting |
| Rushing drying time | Allow each coat to dry fully |
| Using the wrong filler | Match the filler to the repair type |
| Ignoring moisture | Fix leaks before repairing the wall |
Tips for a Professional Looking Finish
Professional painters and drywall finishers rely on preparation more than expensive tools.
Keep these tips in mind:
Use Wide Feathering
Instead of stopping the compound at the edge of the crack, spread it several inches beyond the repair.
This creates a gradual transition that becomes invisible after painting.
Check Under Different Lighting
Side lighting often reveals imperfections that are difficult to see from directly in front.
Inspect repairs during daylight before painting.
Match the Existing Texture
If your wall has an orange peel or knockdown finish, smooth compound alone will look different.
Use an appropriate texture spray after priming if necessary.
Paint the Entire Wall When Possible
Touch-up paint may not perfectly match older paint because of fading and wear.
Painting the entire wall often provides the most uniform appearance.
How to Prevent Wall Cracks from Returning
Although some movement is unavoidable, proper maintenance reduces the likelihood of recurring cracks.
Here are several practical habits that make a difference.
Maintain Consistent Indoor Humidity
Large swings in humidity contribute to drywall movement.
A humidifier during winter and a dehumidifier during humid months help maintain more stable indoor conditions.
Repair Water Leaks Quickly
Roof leaks, plumbing leaks, and poorly sealed windows weaken drywall over time.
Address moisture issues as soon as they appear.
Monitor Foundation Drainage
Keep gutters clean and ensure downspouts direct water away from your home’s foundation.
Poor drainage can contribute to settlement.
Perform Annual Inspections
Walk through your home once or twice a year and inspect:
- Ceiling corners
- Window frames
- Door openings
- Basement walls
- Drywall joints
Small repairs are easier and less expensive than waiting until damage spreads.
If you’re planning several home improvement projects, organizing them with a simple checklist can help you stay on track. BYB Good Idea shares practical ideas for managing home upgrades and everyday projects, including this guide on project management tools for small teams, which can also inspire homeowners tackling multiple DIY tasks.
Frequently Asked Questions
Can I repair wall cracks without professional experience?
Yes. Most cosmetic drywall and plaster cracks can be repaired by homeowners using basic tools, joint compound, and careful preparation. Taking your time is more important than having advanced skills.
What is the best filler for small wall cracks?
Lightweight spackle works well for tiny hairline cracks, while joint compound is generally the better choice for larger drywall repairs and taped joints.
How long should joint compound dry?
Drying time depends on temperature, humidity, and product type. Most standard compounds require 12 to 24 hours between coats.
Why do repaired cracks come back?
Recurring cracks usually indicate continued movement, poor preparation, insufficient reinforcement, or an unresolved moisture problem.
Should I paint immediately after sanding?
No. Always remove sanding dust and apply primer before painting. This produces a more even finish and improves paint adhesion.
Are all wall cracks dangerous?
No. Most interior wall cracks are cosmetic. However, large, widening, or structural cracks should be evaluated by a qualified professional.
Final Thoughts
Learning how to Fix Cracks in Walls is one of the most valuable DIY skills a homeowner can develop. Most interior cracks are cosmetic and can be repaired with patience, the right materials, and careful preparation. By identifying the cause of the crack, choosing the correct repair method, and taking the time to apply thin, even coats of compound, you can restore your walls to a smooth, professional-looking finish without the expense of hiring a contractor.
Regular maintenance also plays an important role. Checking your walls for early signs of movement, controlling indoor humidity, and fixing leaks promptly can prevent many small problems from becoming larger repairs.
If you’re interested in making your home more efficient beyond wall repairs, BYB Good Idea offers practical resources on topics such as building a smart tech setup without overspending, how to set up a smart home on a budget, turning your old phone into a smart home device, affordable smart home devices, affordable smart lighting options, and best wireless speakers for small homes. These guides provide simple, budget-conscious ideas that complement DIY home improvement projects.
For additional guidance on home maintenance and repair best practices, the U.S. Department of Housing and Urban Development (HUD) provides reliable homeowner resources.