Floor tiles are a versatile and long-lasting solution for flooring in any room of your home. While floor tiles are mostly functional, they also provide a unique opportunity to enhance the aesthetic value of your living space. A well-designed tile to wood floor transition can create a seamless flow between different flooring types, adding to the overall appeal. Decorating floor tiles, whether to freshen old ones or add a personal touch to new ones, may completely transform the look of a room. This detailed guide will bring you through many ways and ideas for decorating floor tiles, ensuring that your flooring is both attractive and functional.
1. Understanding Floor Tiles
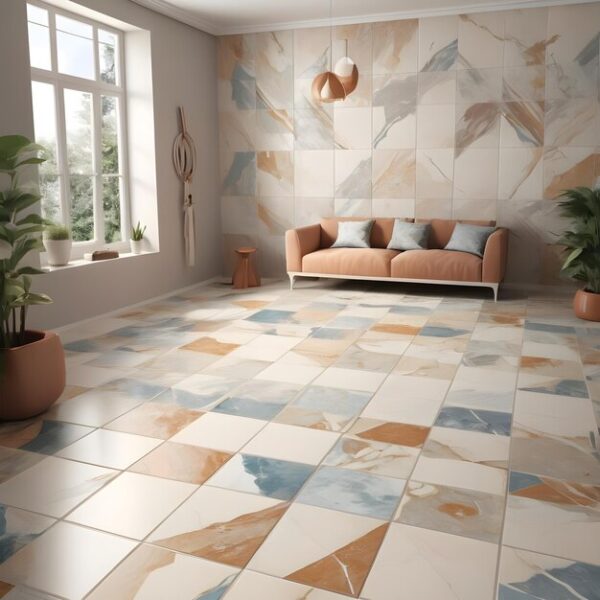
Before getting into decorative techniques, it’s vital to grasp the many types of floor tiles available. The most popular types include ceramic, porcelain, stone, and sheet vinyl flooring tiles. Each variety has its own set of qualities, perks, and decorating techniques.
- Ceramic Tiles: Various colors and finishes are available in this versatile material, which is made from clay and other natural elements. They are reasonably priced and simple to clean.
- Porcelain Tiles: A subset of ceramic tiles, porcelain tiles are better suited for bathrooms and high-traffic areas since they are water-resistant, denser, and more durable.
- Stone Tiles: Made of natural materials like marble, granite, slate, and travertine, stone tiles have a distinctive, classic appearance. They raise a home’s value significantly but come with greater maintenance.
- Vinyl Tiles: Vinyl tiles imitate the appearance of other materials like stone or wood and are inexpensive and simple to install. They require little upkeep and are resistant to water.
2. Preparation for Decorating Floor Tiles
Proper preparation is essential for good tile decoration. Follow these procedures to prepare your tiles for transformation:
- Clean the Tiles: Scrub the tiles well to remove any dirt, grease, or residue. Use a moderate detergent and water, and allow them to dry completely.
- Repair Any Damage: If your tiles have cracks or chips, fix them before embellishing. Use a tile repair kit designed for the tiles you have.
- Choose the Right Tools and Materials: Gather the equipment and supplies required for your decoration approach, such as paint, stencils, sealer, adhesives, or decals.
3. Painting Floor Tiles
Painting is one of the most popular and cost-effective methods for decorating floor tiles. It provides for a high degree of creativity and personalization.
Materials Needed:
- Tile cleaner
- Sandpaper (220-grit)
- Painter’s tape
- Primer (bonding primer for tiles)
- Paint (tile-specific or epoxy paint)
- Sealant (polyurethane or water-based sealant)
- Brushes and rollers
Steps to Paint Floor Tiles:
- Clean and Sand the Tiles: First, thoroughly clean the tiles. Once dry, lightly sand the surface to improve primer adhesion.
- Apply Painter’s Tape: Use painter’s tape to protect the tile edges and any sections that you do not wish to paint.
- Prime the Tiles: Use a bonding primer designed for tiles. This step is critical for ensuring that the paint adheres properly and lasts longer.
- Paint the Tiles: After the primer has dried, apply your preferred paint with a roller for larger areas and a brush for edges and corners. For maximum results, apply many thin coats, allowing each to dry completely before applying the next.
- Seal the Paint: After the paint has completely dried, use a sealant to protect it and increase longevity. Polyurethane or water-based sealants are effective.
4. Using Stencils for Patterned Tiles
Stenciling is an excellent technique to create elaborate motifs to your floor tiles without requiring expert abilities. You can buy stencils or make your own.
Materials Needed:
- Tile cleaner
- Stencils
- Painter’s tape
- Paint (tile-specific or acrylic paint)
- Stencil brush or sponge
- Sealant
Steps to Stencil Floor Tiles:
- Clean the Tiles: Ensure the tiles are clean and free of any debris.
- Secure the Stencil: Position the stencil on the tile and secure it with painter’s tape to prevent it from moving.
- Apply Paint: Use a stencil brush or sponge to dab the paint onto the stencil. Apply multiple thin layers for the best results.
- Remove the Stencil: Carefully remove the stencil while the paint is still wet to avoid smudging. Allow the paint to dry completely.
- Seal the Design: Apply a sealant to protect your design and ensure it lasts.
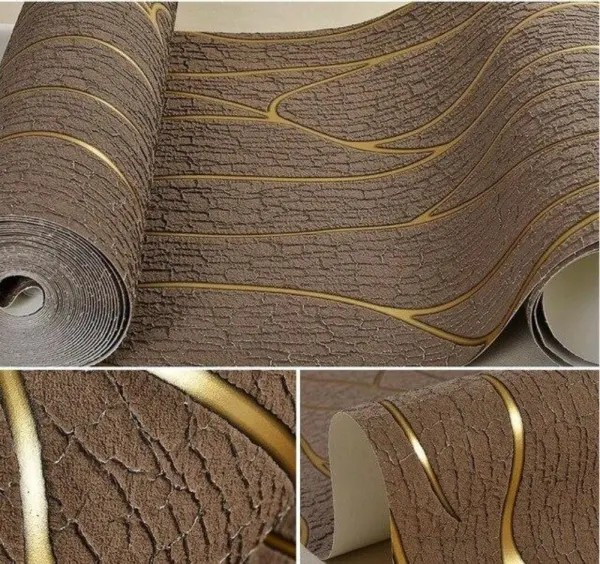
5. Decoupage Technique
Decoupage is a technique that includes applying ornamental paper or cloth to tiles and sealing them with varnish.
Materials Needed:
- Tile cleaner
- Decorative paper or fabric
- Mod Podge or decoupage glue
- Brush
- Sealant
Steps for Decoupage on Floor Tiles:
- Clean the Tiles: Clean and dry the tiles thoroughly.
- Cut the Paper/Fabric: Cut the decorative paper or fabric to fit the size of the tiles.
- Apply Glue: Apply a thin layer of Mod Podge or decoupage glue to the tile.
- Attach the Paper/Fabric: Carefully place the paper or fabric onto the tile, smoothing out any wrinkles or bubbles.
- Seal the Tile: Once the glue is dry, apply several coats of sealant to protect the decoration.
6. Tile Stickers and Decals
Tile stickers and decals are a simple and temporary way to personalize floor tiles. They come in a variety of styles and may be simply removed or changed.
Materials Needed:
- Tile cleaner
- Tile stickers or decals
Steps for Applying Tile Stickers/Decals:
- Clean the Tiles: Ensure the tiles are clean and dry.
- Position the Stickers: Carefully position the stickers or decals on the tiles.
- Smooth Out Bubbles: Use a squeegee or credit card to smooth out any air bubbles.
7. Grout Line Decoration
Decorating grout lines can make a subtle but noticeable difference to your floor tiles. You can personalize the grout by coloring it or adding glitter.
Materials Needed:
- Grout cleaner
- Grout colorant or glitter
- Brush
Steps for Grout Line Decoration:
- Clean the Grout: Clean the grout lines thoroughly.
- Apply Colorant: Apply grout colorant with a brush, following the manufacturer’s instructions.
- Add Glitter: If desired, mix glitter with the grout colorant before application.
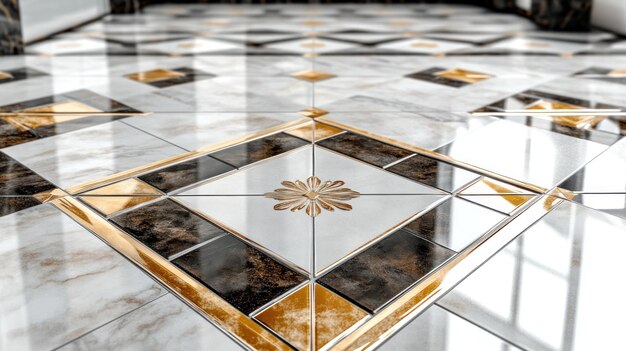
8. Mosaic Designs
Mosaic designs on floor tiles include arranging small pieces of tile, glass, or stone to produce a pattern or picture.
Materials Needed:
- Tile cleaner
- Mosaic tiles or pieces
- Tile adhesive
- Grout
- Sponge
Steps for Mosaic Floor Tiles:
- Clean the Tiles: Ensure the tiles are clean and dry.
- Plan Your Design: Lay out the mosaic pieces to plan your design.
- Apply Adhesive: Apply tile adhesive to the tiles.
- Place the Mosaic Pieces: Carefully place the mosaic pieces onto the adhesive.
- Grout the Tiles: Once the adhesive is dry, apply grout to fill the gaps between the mosaic pieces. Wipe off excess grout with a sponge.
9. 3D Floor Art
3D floor art can provide an immersive experience by making your floor appear to have depth or a distinct texture.
Materials Needed:
- Tile cleaner
- 3D floor art decals or custom 3D tiles
- Adhesive (if using custom tiles)
- Sealant
Steps for 3D Floor Art:
- Clean the Tiles: Clean the tiles thoroughly.
- Apply 3D Decals: Carefully apply 3D floor art decals to the tiles.
- Seal the Art: Apply a sealant to protect the decals and enhance their durability.
10. Maintenance Tips for Decorated Tiles
- Regular Cleaning: Use a mild detergent and water to clean your tiles on a regular basis. Avoid using powerful chemicals that may ruin the decoration.
- Avoid Abrasives: When cleaning the tiles, use soft brushes or towels to avoid scratching the surface.
- Reapply Sealant: To keep painted or decoupaged tiles protected, reapply sealant on a regular basis.
- Immediate Repairs: Address any chips or cracks right away to avoid further damage.
Final Words

Decorating floor tiles is a wonderful way to bring personality and design into your house. The choices are unlimited, whether you paint, stencil, decoupage, or utilize another technique. With the right preparation and care, your designed tiles can become a gorgeous center point in any environment. So gather your tools, release your imagination, and turn your floors into works of art.